在 VSCode 中调试 Google Test
6/29/25Less than 1 minute
如何在 VSCode 中调试 Google Test
本文介绍如何在 VSCode 下配置 Google Test 的断点调试环境,包括 launch.json 和 tasks.json 的标准写法,以及调试流程说明。
1. 配置 launch.json
在 .vscode/launch.json 中添加如下内容:
{
    "version": "0.2.0",
    "configurations": [
        {
            "name": "Debug GTest (Auto)",
            "type": "cppdbg",
            "request": "launch",
            "program": "${command:cmake.launchTargetPath}",
            "args": [],
            "stopAtEntry": false,
            "cwd": "${workspaceFolder}",
            "environment": [],
            "externalConsole": false,
            "MIMode": "lldb",
            "preLaunchTask": "cmake: build"
        }
    ]
}
2. 配置 tasks.json
在 .vscode/tasks.json 中添加:
{
    "version": "2.0.0",
    "tasks": [
        {
            "type": "shell",
            "label": "cmake: build",
            "command": "cmake --build build --config Debug --target all -j 14",
            "options": {
                "cwd": "${workspaceFolder}"
            },
            "group": {
                "kind": "build",
                "isDefault": true
            }
        }
    ]
}
3. 调试流程
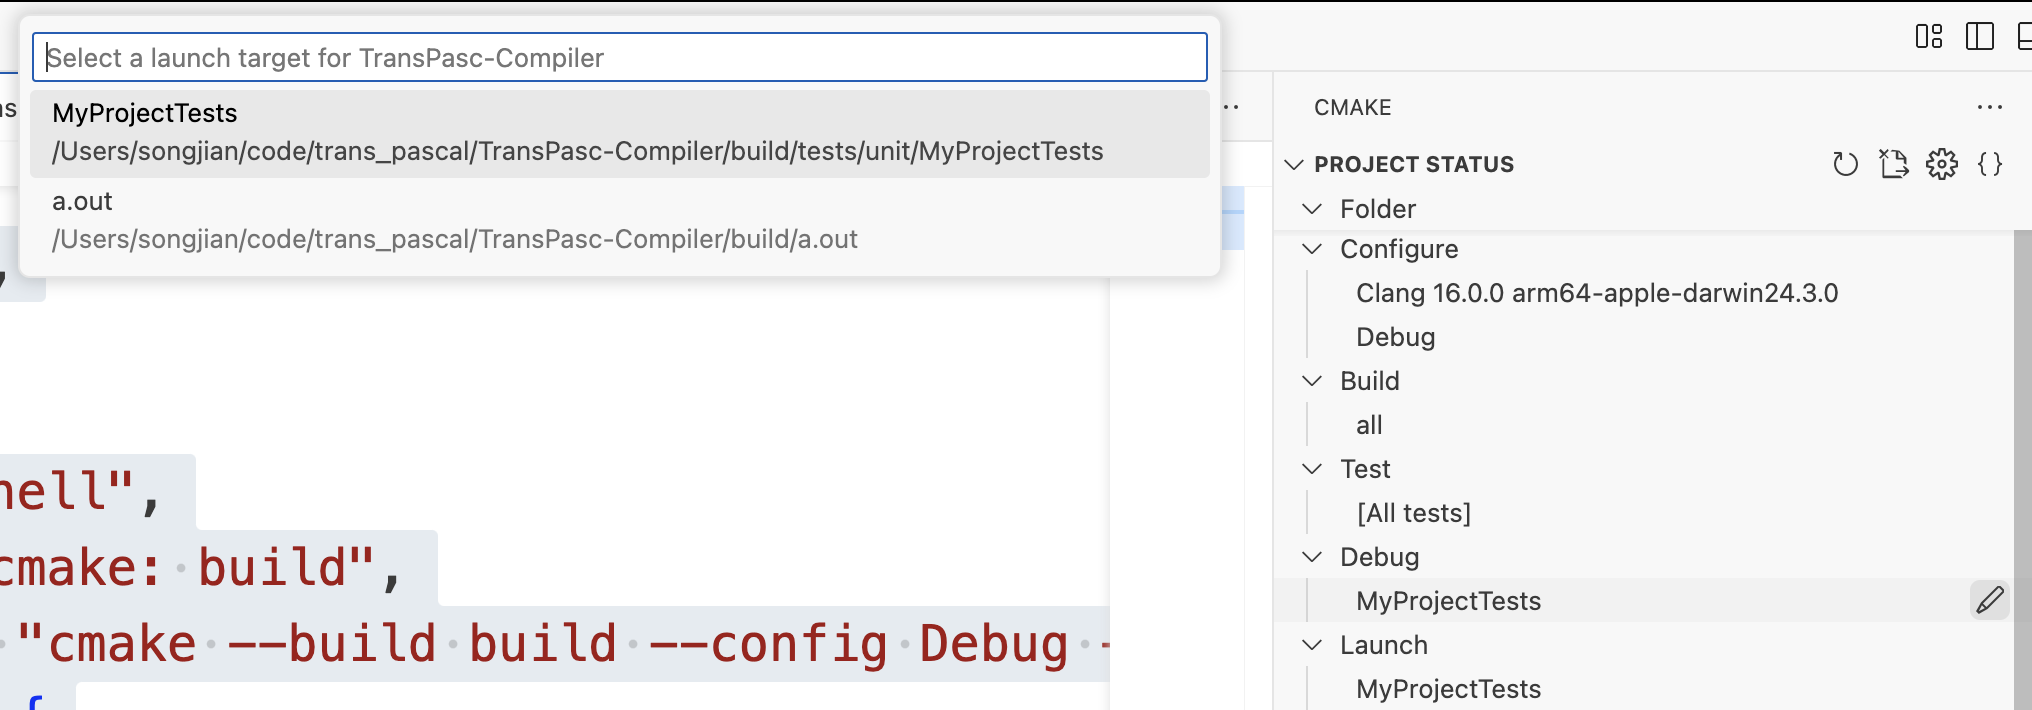
- 在 CMake 的 Debug target 选择对应的测试用例(如 Test)。
- 在测试代码中需要调试的位置打断点。
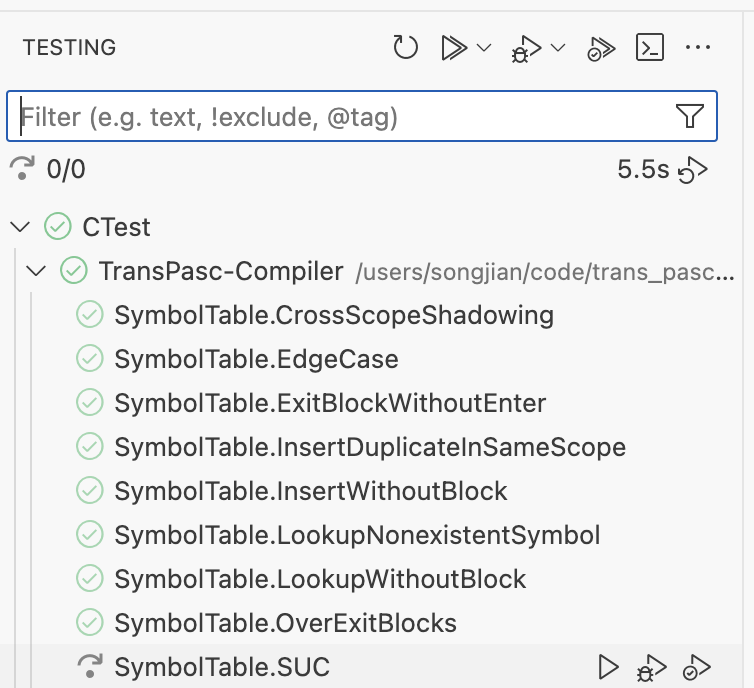
- 在 Testing 面板中选择对应的用例,点击 Debug 按钮即可。
如遇到断点无法命中、调试信息缺失等问题,请确认 CMake 构建类型为 Debug,且编译参数包含
-g。